TL;DR

Get bike and ride gear delivered free — and shop member deals
- Fast, free delivery on millions of items
- Access to Prime Big Deal Days deals on October 6–7
- Prime Video, Amazon Music and more included
Electric bike accessories fall into four useful groups: safety, comfort and convenience, cargo and utility, and maintenance and security. Start with a well-fitted helmet, suitable lights, a strong lock, and flat-tire supplies; then choose additions for your routes and routine. Check measurements, load ratings, and electrical specifications before you buy.
An e-bike can turn a windy, uphill commute into a quiet glide, but the wrong accessory can leave you wrestling a loose basket or fumbling for a flat-tire tool at the curb. The best additions make your actual rides safer and easier.
Electric bike accessories fall into four useful groups: safety, comfort and convenience, cargo and utility, and maintenance and security. Here’s what to buy first, what to check for fit, and how to avoid carrying gear that doesn’t earn its space.
Start with a well-fitted helmet, appropriate lights, a lock, and flat-tire supplies.
Check accessory measurements, mounting points, load limits, and electrical specs against your exact bike.
Keep cargo secure and balanced, and allow extra braking and cornering room when carrying it.
Use the battery maker’s specified charger and storage guidance.
Add comfort and convenience gear when it solves a regular problem on your routes.
Start with the four accessory groups that solve everyday problems
Electric bike accessories fall into four groups: safety, comfort and convenience, cargo and utility, and maintenance and security. This map is useful because it turns a long shopping list into a decision about what can disrupt your ride. A dark route creates a visibility problem; a grocery run creates a carrying and handling problem. Start with the problem you face most often, since every extra item adds cost, weight, and something to maintain.
Think of your setup as a small toolkit: each item should handle a problem your ride is likely to bring. If you commute through dark streets, visibility gear belongs at the top because other road users need time to notice you. If you carry groceries over bumpy pavement, balanced cargo and secure mounting matter more than a decorative bell: a shifting load can affect steering and braking.
- Safety: helmet, lights, bell or horn, mirror, and reflective gear. These support protection and awareness, but their usefulness depends on fit, visibility, and consistent use.
- Comfort and convenience: grips, saddle, weather protection, and a secure phone mount. These can make longer rides easier, though poor fit or obstructed controls can introduce new problems.
- Cargo and utility: compatible racks, panniers, baskets, child seats, or trailers. They make trips more practical but add load that changes how the bike responds.
- Maintenance and security: a lock, pump, tire tools, repair supplies, and battery care. These help you manage predictable risks, but tools only help if they match your bike.
For example, a rider who rolls home after sunset may get more from a bright rear light and reflective ankle bands than from a new saddle. The most important aspects are the ones that address your route, not a generic shopping checklist. After a week of rides, note what slowed you down or made you feel exposed; that evidence is a better guide than buying a complete accessory bundle.
Buy helmet, lights, and visibility gear before comfort upgrades
Buy a properly fitted helmet and suitable front and rear lights before spending on comfort upgrades. These address consequences that can be serious and conditions that change from ride to ride: a helmet needs to stay positioned to help protect you, while lights make the bike easier to notice when visibility is poor. A bell or horn, mirror, and reflective details can help you stay visible and aware of traffic, though local helmet and lighting rules vary. Gear supports safe riding; it can’t make unsafe riding safe.
Imagine riding home beneath a gray evening sky: a dark jacket blends into parked cars, but a working rear light and bright reflective bands give drivers more chances to spot you. Choose lights suited to your conditions, mount them where they won’t be blocked by bags, and check them before you set off. A light that is bright but poorly aimed or hidden may offer less practical visibility than its specifications suggest.
Riding at higher speeds or carrying a load can affect stopping distance and handling. That makes visibility and braking room work together: being seen earlier can give others more time to react, while leaving space gives you time to stop. Keep enough room to brake, and practice with new gear in a quiet area before mixing into traffic. For bike or e-bike safety questions, follow the maker’s guidance and local requirements.
Safety gear helps others see you and helps protect you. It does not replace a sound bike, attentive riding, or enough room to stop.
Check fit and electrical specs before you order accessories
Check the accessory’s measurements, mounting points, load rating, and electrical specifications against your exact bike model. “Universal fit” is a starting claim, not proof that a rack clears your frame or that a light works with your battery. Compatibility depends on the part and the bike; a mismatch can mean a return, an unstable installation, blocked controls, or an electrical part that does not work as intended.
Before buying, use this quick sequence:
- Find your bike’s specifications. Check the manual or manufacturer’s information for handlebar and seatpost sizes, rack mounts, and electrical details. These measurements determine whether a clamp or mount can be secured correctly.
- Compare the accessory’s requirements. Match its clamp diameter, mounting standard, and stated load limit to your bike. A part that physically attaches may still exceed what the frame or mount is rated to carry.
- Verify electrical compatibility. For powered lights and other electrical accessories, match the bike maker’s voltage and connector requirements. Similar-looking connectors do not establish that a part is electrically suitable.
- Think through the installed setup. Check that the item won’t cover lights, controls, the display, or space you need when mounting and dismounting. An accessory that compromises access or visibility can undermine the convenience it was meant to add.
For instance, two rear racks may look nearly identical in a shop photo, while only one matches your frame’s mounting points and rated load. Keep a phone mount secure and clear of the display; don’t handle your phone while riding. Vibration can affect some phone cameras, so check your phone maker’s guidance and consider a vibration-damping mount. A mount can reduce exposure to vibration, but it cannot guarantee that every phone is protected.
Choose cargo gear that stays balanced and within its load limit
Choose cargo gear that your bike and its mounts are approved to carry, and keep the load secure and balanced. Panniers, baskets, child seats, and trailers can make everyday trips more practical, but they change how your e-bike steers, brakes, and corners. Weight and placement matter: an uneven or high load can make the bike feel less predictable, while exceeding a stated limit can put stress on the frame or mount. Check both the bike’s and accessory’s limits before loading up.
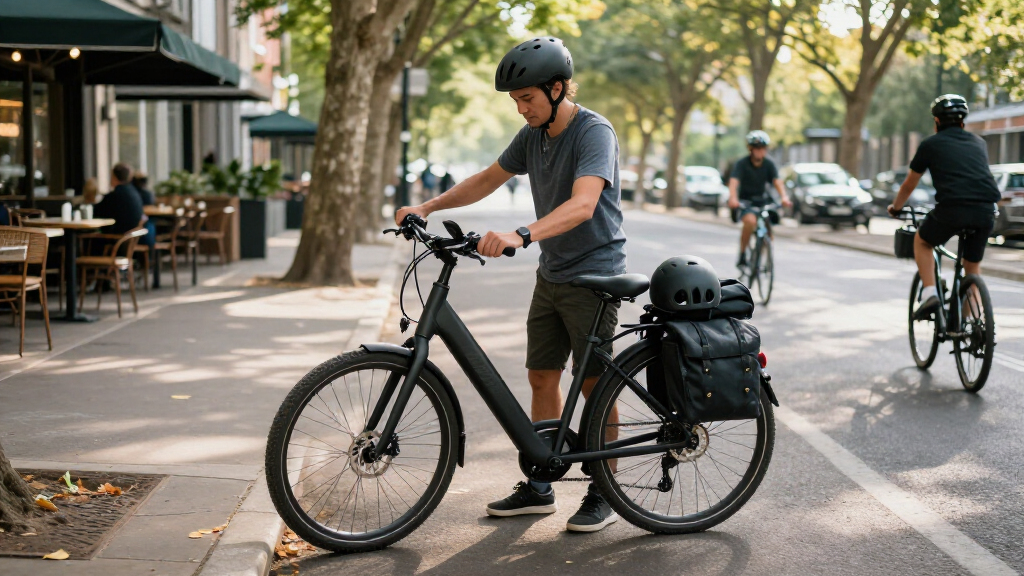
A grocery run is a useful test: heavy items packed high in a loose handlebar basket can sway when you turn, while well-secured bags mounted low on a compatible rear rack may feel steadier. Neither arrangement is automatically right for every bike; rack position, total load, and the bike maker’s ratings still matter. Pack evenly, fasten straps away from moving parts, and take a cautious first ride with the new load. That ride lets you notice handling changes before you depend on the setup in traffic.
Child seats and trailers need special care. Confirm that the bike, rack, and accessory are approved for that use, follow installation instructions, and stay within stated weight limits. Approval and correct mounting matter because a child’s weight and movement affect the whole bike, and a loose connection can have serious consequences. When you add cargo, allow extra room for braking and take corners gently.
A weather-resistant bag and fenders can also make a rainy commute more comfortable. Make sure bags don’t hide reflectors or lights, and that fenders and straps don’t rub against wheels. Practical electric bike accessories should make the trip easier without getting in your way; if a setup obstructs visibility or feels unstable, adjust it before adding more load.
Add comfort upgrades that match your route and riding position
Comfort accessories work best when they fit your body and bike instead of forcing a new riding position. Grips, saddles, ergonomic handlebars, suspension seatposts, and weather protection may help on longer rides, but comfort is personal. They also involve tradeoffs: a different saddle may take adjustment, a suspension seatpost adds a moving part, and extra weather gear can add bulk. Any adjustment must leave your steering and controls clear.
If a weekday route runs over rough pavement, a suspension seatpost may soften sharp bumps; a rider on smooth paths may prefer better-fitting grips. Change one thing at a time and take a short test ride, so you can tell whether the adjustment helps or creates a new ache. If it does not solve a recurring discomfort, changing several parts at once makes it harder to identify the cause.
A handlebar phone mount can be handy for directions, but secure the device without blocking your display, brake levers, or view of the road. Set your route before moving and stop somewhere safe if you need to use the screen. Comfort should help you focus on riding, not pull your attention away from it.
Protect the bike with a strong lock and basic roadside supplies
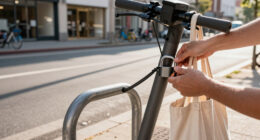
Protect your e-bike with a sturdy lock and a small flat-tire kit suited to your wheels and tires. A lock helps deter theft, but secure parking and protecting removable parts matter too; no single lock makes theft impossible. The right lock is one you can carry and use consistently, while still being suitable for the places you park. A pump, tire levers, and a suitable patch kit or spare tube can help with common roadside trouble, but they need to match your tire and valve.
When you park, lock the frame to an immovable object and secure a wheel as well. Removing the display or battery may make removable parts less appealing to thieves, if the maker allows it and your parking situation calls for it. GPS trackers and app-linked alarms can add another layer, but their usefulness depends on power, connectivity, and any subscription terms; they supplement secure locking rather than replace it.
For a flat, make sure your tube, valve, and tools match the tire before you leave home. A compact pump may take patience, but it beats pushing a heavy e-bike along a shoulder. A short practice at home can reveal whether you know how to use the tools and whether they fit your wheel. Follow the manufacturer’s maintenance instructions, especially for electrical parts.
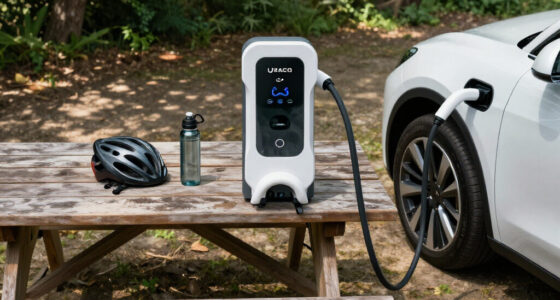
Use only the charger specified for your battery and follow its guidance for charging, storage, and temperature. Battery care affects both service life and safe use, so convenience is not a good reason to improvise with a different charger. An incompatible charger can damage the battery or create a safety risk. Avoid improvised charging equipment and keep the battery secure when parked.
Build a starter setup around your first week of rides
A useful starter setup covers visibility, security, and simple roadside repairs before adding optional cargo or comfort gear. These first choices address problems that can interrupt a ride or leave you exposed: being hard to see, having nowhere secure to park, or being unable to deal with a puncture. The exact choices depend on where you ride, where you park, and what you carry. Treat each accessory as a small investment in a problem you’ve actually met or expect to meet.
For a new commuter riding to work and stopping for groceries, a sensible first round might include a helmet, front and rear lights, a lock, a pump, tire levers, and a compatible rear rack with panniers. The rack and panniers solve the grocery problem, but they bring additional weight and require the correct mounting points and load rating. A rider on short, lit paths may need different gear. Added accessories also add weight and sometimes drag, which can reduce range depending on the route, speed, terrain, and load. This is why a minimal setup can be easier to carry and may preserve more range, while a fuller setup can save time and make routine trips possible.
- Start with the safety gear required by your local rules and your riding conditions.
- Choose a lock that suits your parking spots, and secure the frame when you leave the bike.
- Carry flat-tire supplies that match your wheel, tire, and valve.
- Add bags, comfort parts, or electronics only when they fit the bike and solve a regular problem.
Keep your key facts and priorities simple: fit, safety, load limits, and actual use. If a new part complicates controls, blocks a light, or sits unused after several rides, it may not belong in your setup. Review the kit after a week: keep what helped, adjust what caused trouble, and add the next item only when a clear need appears.
Frequently Asked Questions
What electric bike accessories should I buy first?
Start with a properly fitted helmet, suitable front and rear lights, a lock, and basic flat-tire supplies. Add bags, mirrors, or comfort gear based on your route and routine.
Can I use any charger or light with my e-bike?
No. Electrical parts need to match the bike’s specifications, including voltage and connector requirements. Use the charger specified for your battery and check the bike maker’s guidance before fitting a powered light.
Can I add a rear rack, child seat, or trailer to any e-bike?
Only when the bike and mounting points are approved for that accessory and load. Check the manufacturer’s installation instructions and weight limits, then test the loaded bike carefully because cargo can change braking and handling.
What should I carry in case of a flat tire?
A compatible pump or inflator, tire levers, and a patch kit or spare tube are common choices. Match them to your tire and valve type before setting off, so you don’t discover a mismatch at the roadside.
Do accessories reduce e-bike range?
Added weight and aerodynamic drag can reduce range. The effect depends on the accessory, route, speed, terrain, and battery, so a small rack bag and a heavily loaded trailer won’t affect every ride the same way.
Conclusion
Start with the accessories that protect you, keep your e-bike secure, and help you handle a flat. Then add cargo or comfort gear that fits your bike and your routine. The right setup should feel like a good tool kit: ready when you need it, quiet when you don’t.
Fall Picks
fall essentials
As an affiliate, we earn on qualifying purchases.