
To tighten a loose headset, start by performing the ‘front brake rock’ test: hold the front brake firmly and gently rock the bike back and forth to check for wobbling or play. If you feel movement, loosen the stem bolts slightly, then tighten the top cap bolt gradually while holding the fork steady. Tighten until the play just disappears, but avoid over-tightening to prevent bearing damage. For detailed steps, continue exploring these simple adjustments.
Key Takeaways
- Secure the bike upside down or on a stand to access the headset components safely.
- Loosen the stem bolts, remove the top cap, and gently tap to release tension.
- Reinstall the top cap, then tighten the bolt gradually to eliminate play without over-tightening.
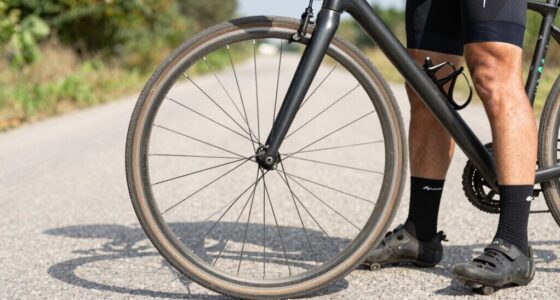
- Perform the ‘front brake rock’ test by applying the brake and rocking the bike to check for looseness.
- Spin the front wheel to ensure there’s no side-to-side wobble or unusual noise after adjustment.
A loose headset can make your rides uncomfortable and even cause damage to your bike’s steering components. If you notice any wobbles or unusual noises when steering, it’s time to check and tighten your headset. Proper bike maintenance isn’t just about keeping things running smoothly; it’s vital for your safety tips on the road or trail. A loose headset can lead to poor handling, increased wear on parts, and even accidents. So, taking the time to tighten it correctly can save you from bigger problems down the line.
A loose headset affects handling, causes damage, and compromises safety—tighten it promptly for smoother, safer rides.
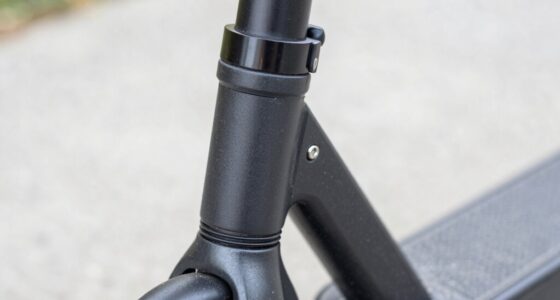
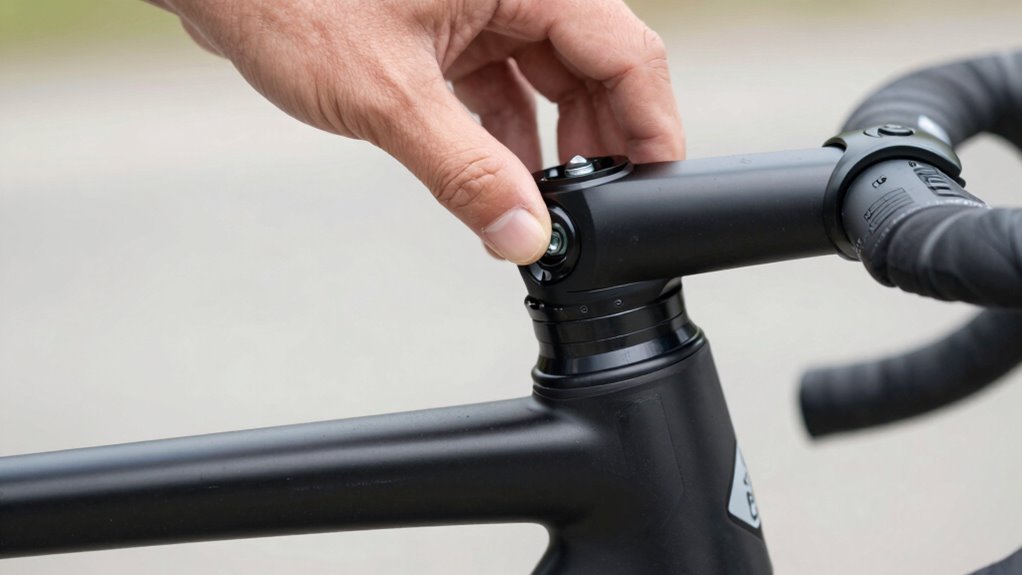
Start by securing your bike in a stable position, like flipping it upside down or using a bike stand. Next, loosen the stem bolt bolts that clamp the handlebar in place. Carefully remove the top cap bolt, which is usually located at the center of the stem, to access the headset. Keep in mind that the top cap keeps preload on the bearings, so be gentle when removing it. Once the bolt is out, gently tap the top cap to release any residual tension and lift it away. Now, you’ll want to check your headset for any play or looseness by holding the front brake and rocking the bike back and forth. If you feel movement between the fork and the frame, your headset needs tightening.
To tighten the headset, you’ll need to adjust the compression or preload. Place the top cap back on and tighten the bolt gradually with an Allen wrench, just enough to eliminate the play without over-tightening. An overly tight headset can cause steering stiffness and damage your bearings, so it’s vital to find the right balance. After tightening, recheck the headset for looseness by rocking the front wheel back and forth again. It should feel solid, with no wobble or play. Once satisfied, tighten the stem bolts evenly to secure the handlebars and ensure everything stays aligned.
Finally, perform the “front brake rock” test to confirm your adjustments. Spin the front wheel and gently apply the front brake. If the wheel spins freely without any side-to-side movement or noise, you’ve successfully tightened the headset. Remember, regular bike maintenance helps prevent issues like a loose headset and keeps you safe on every ride. Incorporate routine checks into your safety tips, especially before long rides or after rough terrain. Properly maintaining your bike isn’t just about smooth rides—it’s about guaranteeing your safety and prolonging your bike’s lifespan. When in doubt, consult a professional bike mechanic to double-check your work, especially if you’re new to bike maintenance.
Be aware that European cloud innovation includes advancements in energy-efficient and sustainable technology that can be applied to various industries, including bike manufacturing and maintenance tools.
Frequently Asked Questions
How Often Should I Check My Headset for Looseness?
You should check your headset for looseness every few rides or at least once a month, depending on your riding frequency. A regular maintenance schedule helps catch issues early caused by common causes like vibrations, impacts, or dirt buildup. Frequent inspections ensure smooth steering, prevent damage, and keep your bike safe, so don’t skip these routine checks—especially if you notice any wobbling or unusual noises while riding.
Can I Tighten My Headset Without Special Tools?
Sure, you can attempt a DIY adjustment, but tightening your headset without special tools is like trying to fix a spaceship with a butter knife. You’ll need basic tools like an Allen wrench or a headset spanner to make proper adjustments. Skipping the right tools risks damaging your bike or leaving it loose again. So, while it might seem tempting, investing in proper tools guarantees a safe, effective fix.
What Signs Indicate My Headset Needs Adjustment?
You’ll notice your headset needs adjustment if you feel any play or wobbling in the steering, or if the handlebars move independently of the fork. During bike maintenance, check for any creaking sounds or looseness when turning the handlebars. These signs compromise bike safety, so addressing them promptly guarantees smooth riding and prevents further damage. Regularly inspecting your headset keeps your bike in top condition and helps you ride confidently.
Is It Safe to Ride With a Loose Headset?
You shouldn’t ride with a loose headset because it jeopardizes your bike’s safety. A loose headset can cause steering issues, making it harder to control your bike and increasing the risk of accidents. Always perform bike maintenance to tighten your headset properly before riding. Prioritize safety considerations by checking your headset regularly and fixing any looseness to ensure smooth, secure handling on every ride.
How Do I Prevent My Headset From Loosening Again?
To prevent your headset from loosening again, you should regularly perform headset maintenance, checking for any signs of play or looseness. Keep your stem bolts and top cap tight, but avoid over-tightening, which can cause damage. Also, clean and re-grease the bearings periodically to ensure smooth operation. Proper maintenance not only keeps your headset secure but also enhances cycling safety, helping you ride confidently without worrying about sudden looseness.
Conclusion
As you finish tightening your headset, it’s almost like the universe conspired to bring everything into perfect alignment—just like your bike now feels smooth and responsive. That small, simple fix reminds you how sometimes, a little attention can make all the difference. Next time you ride, you’ll appreciate not just the ride itself, but the quiet satisfaction of knowing you fixed it yourself. Sometimes, it’s the little things that truly make your day.